
ServiceM8 has just released version 13. This release includes an Android Lite app with minimal functionality.
Read More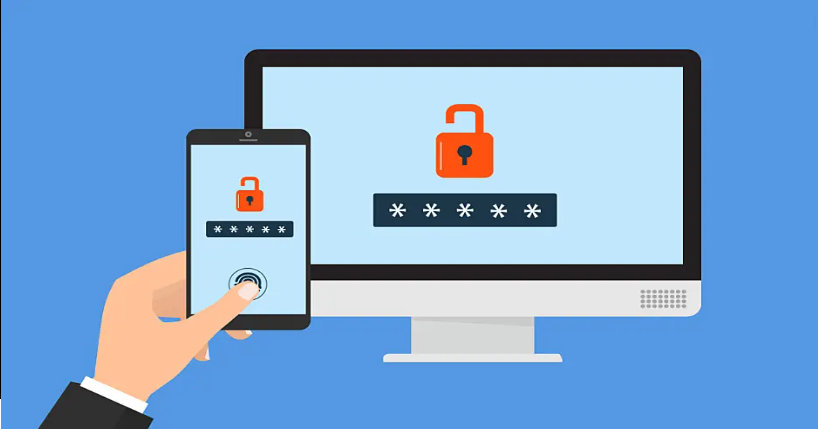
In this article we provide detailed instructions on how to install the Microsoft Authenticator on your Android phone.
Read More
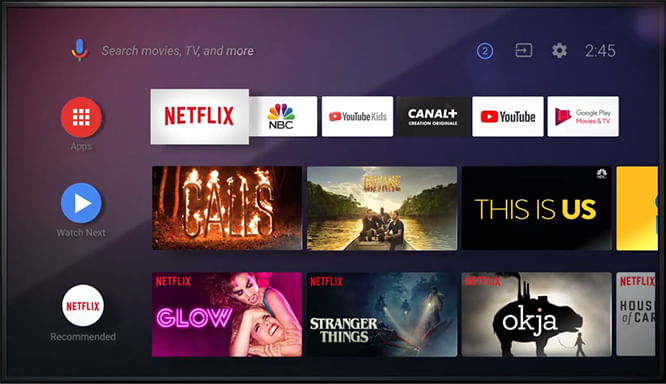
If you have an old TV that is not a smart TV, you can turn your TV into a media streaming hub using an nVidia Sheild device.
Read More
Like other app stores, Android’s Google Play Store attempts to mitigate the risk of malware exposure within their approved apps. Unfortunately, malware authors are finding ways to worm their way past these controls.
Read MoreErasing or “resetting” your Android device takes a few steps and some time, but first make sure you have backed up all your own personal data and photos, because the process wipes everything from the tablet. You should also sign out of any accounts for third-party services like Microsoft Office, Twitter or Yahoo, and remove any external storage cards used with the tablet.
Read MoreStart by opening the Contacts app on your Android device and selecting the contact you’d like to dress up with a photo. Tap the pencil-shaped Edit icon in the lower-right corner; if you have multiple accounts on the device, you may be asked to pick one here.
Read MoreMany unexpected outgoing calls occur when you do not flip on the lock screen when shoving the phone in a purse or pocket. Without the lock screen to temporarily disable input to the phone’s screen or buttons, accidental brushes, taps or bumps can trigger a phone call or garbled text message, especially if the phone was left with the contacts app or keyboard open. (When unlocked phones shoved in a back pocket make a call this way, the incident is colloquially referred to a “butt dial.”)
Read MoreWith the holiday season upon us, families will soon gather for the big annual exchange — not just gifts, but also memories.
Read MoreSome smartphone apps that are designed specifically for scanning or capturing digital versions of photographic prints can do a bit more than just take a picture of the picture. When searching for a portable scanning program, read its listed set of features on its app store page — tools like edge detection, perspective correction and color enhancement can make a battered print look much better after its digital conversion.
Read More